|
Dave's Scimitar SS1 1600 The re-commissioning Page 4 of 9 |
|||||
| October 2011
> |
Quarter light being put back together > |  |
new stainless steel nuts and bolts > | 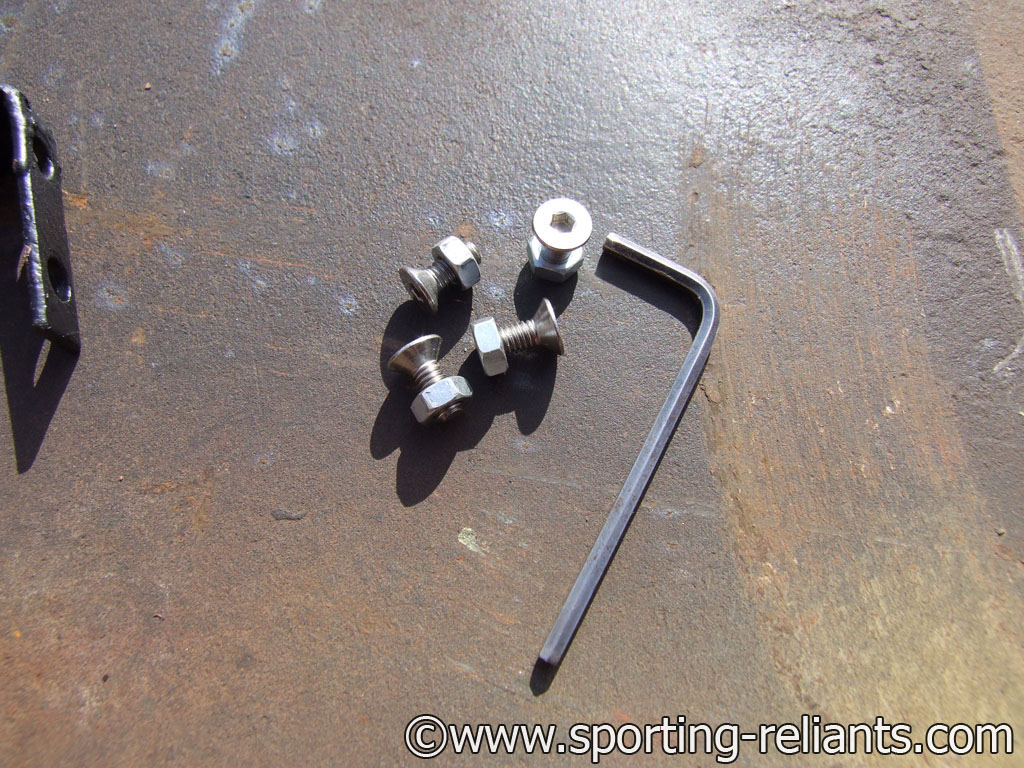 |
 |
| New and the old frames > | 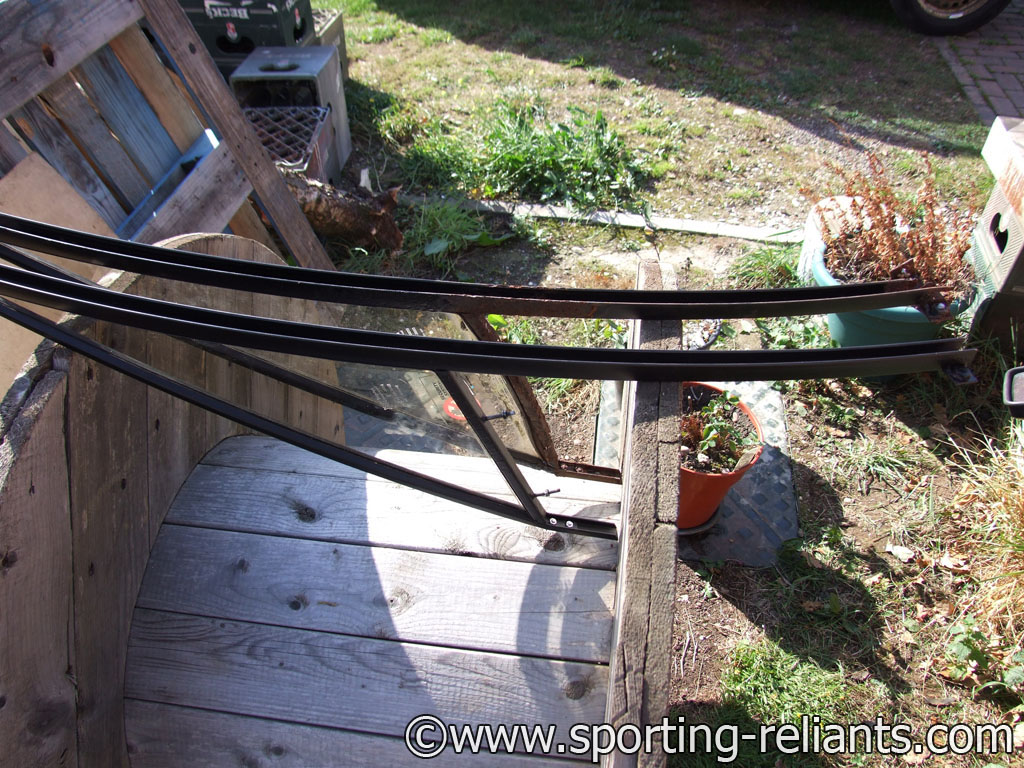 |
 |
new and old window slider > | 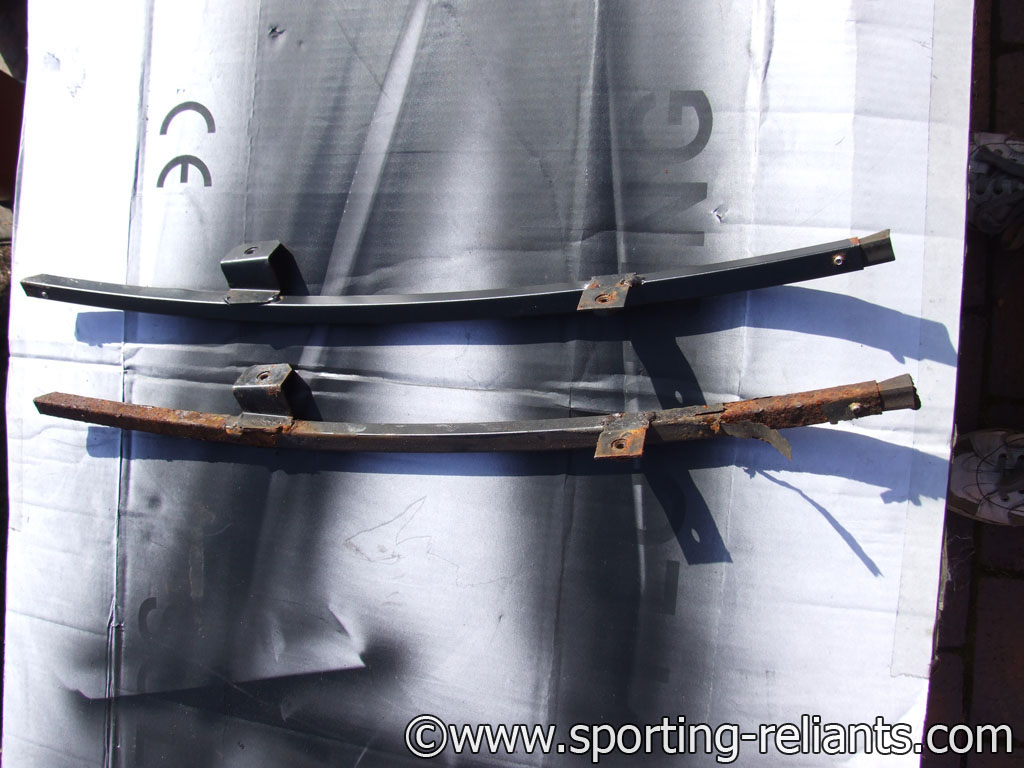 |
Replaced the old broken door/window seal > |
 |
 |
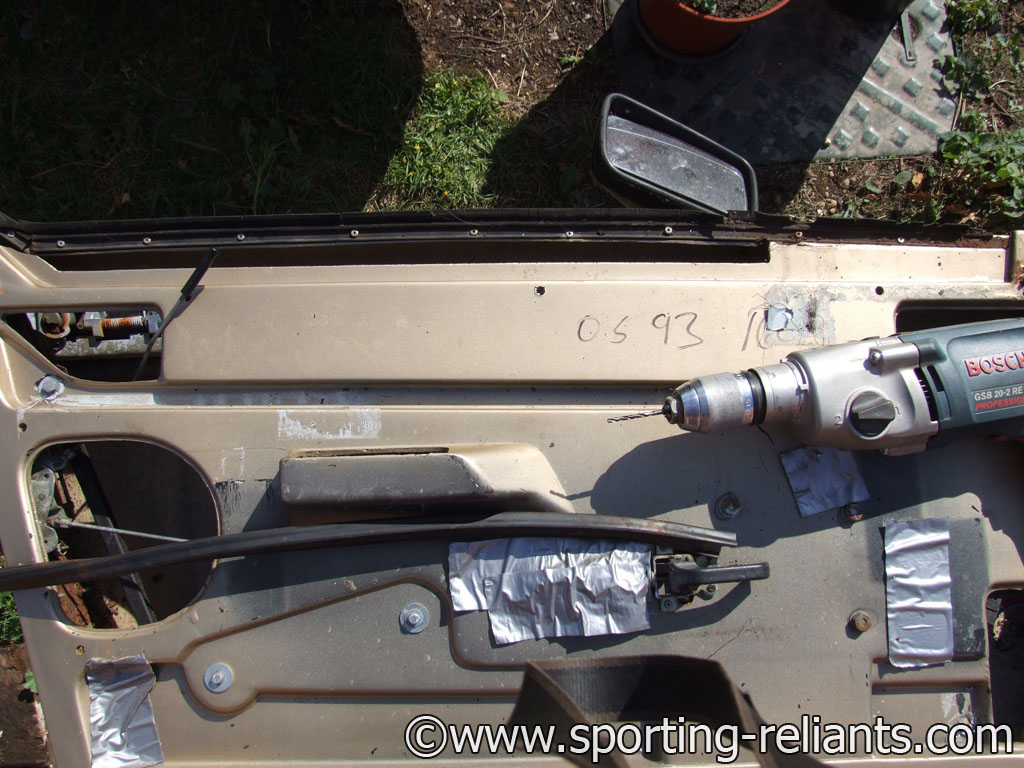
remove the old electric window mechanism > |  |
and fit the spare one > |  |
| replace the rusty door cover fittings | 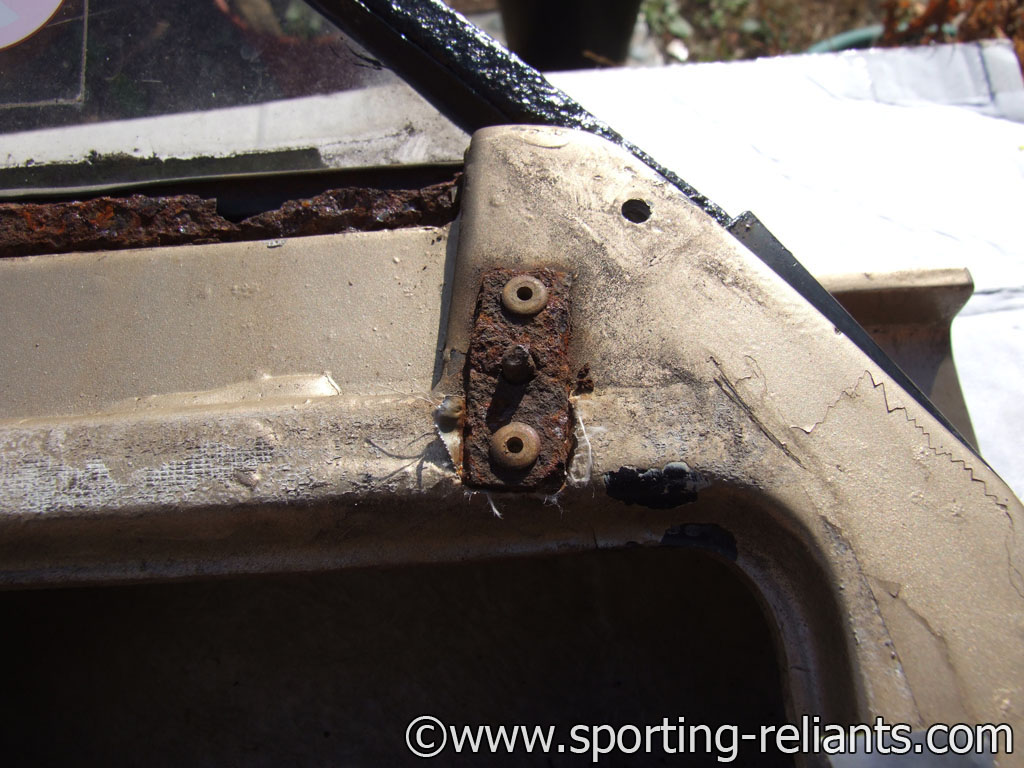 |
with new stainless steel ones from the internet, plus peel rivets. |  |
That look better!! | 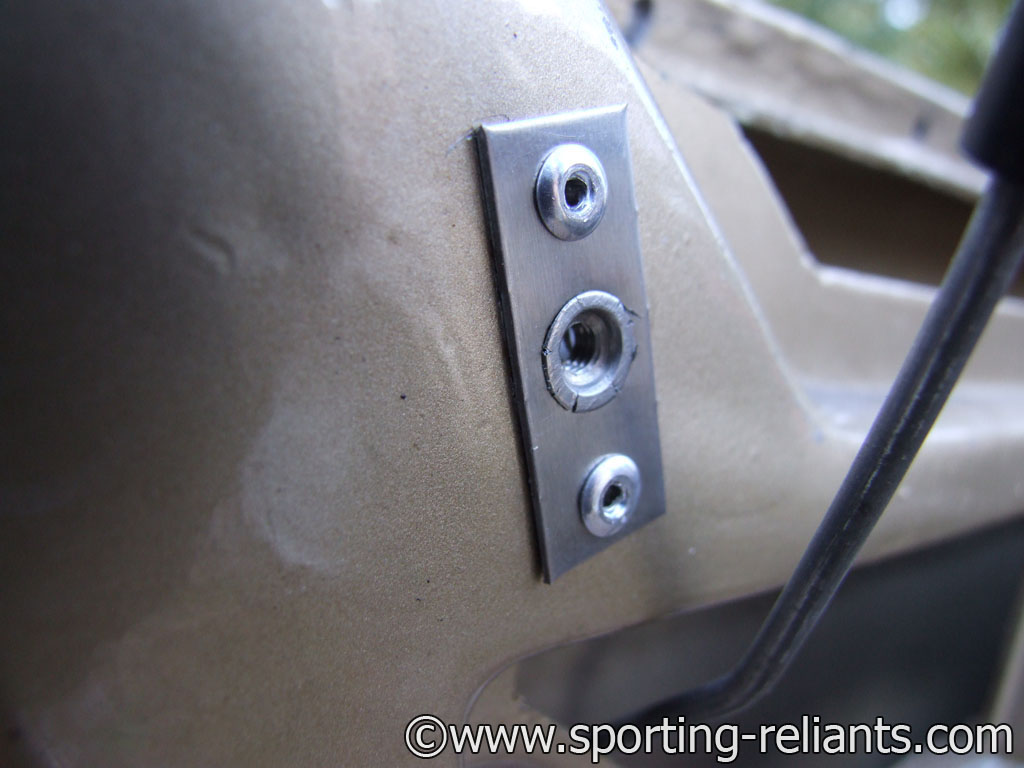 |
| Door finished and back together | 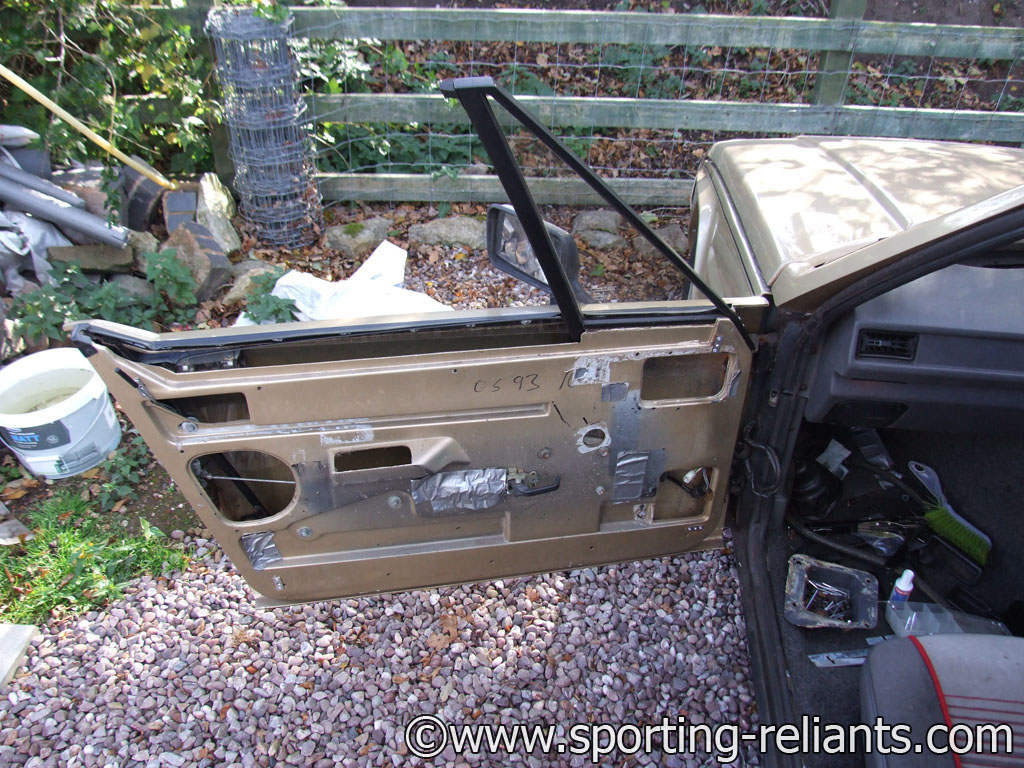 |
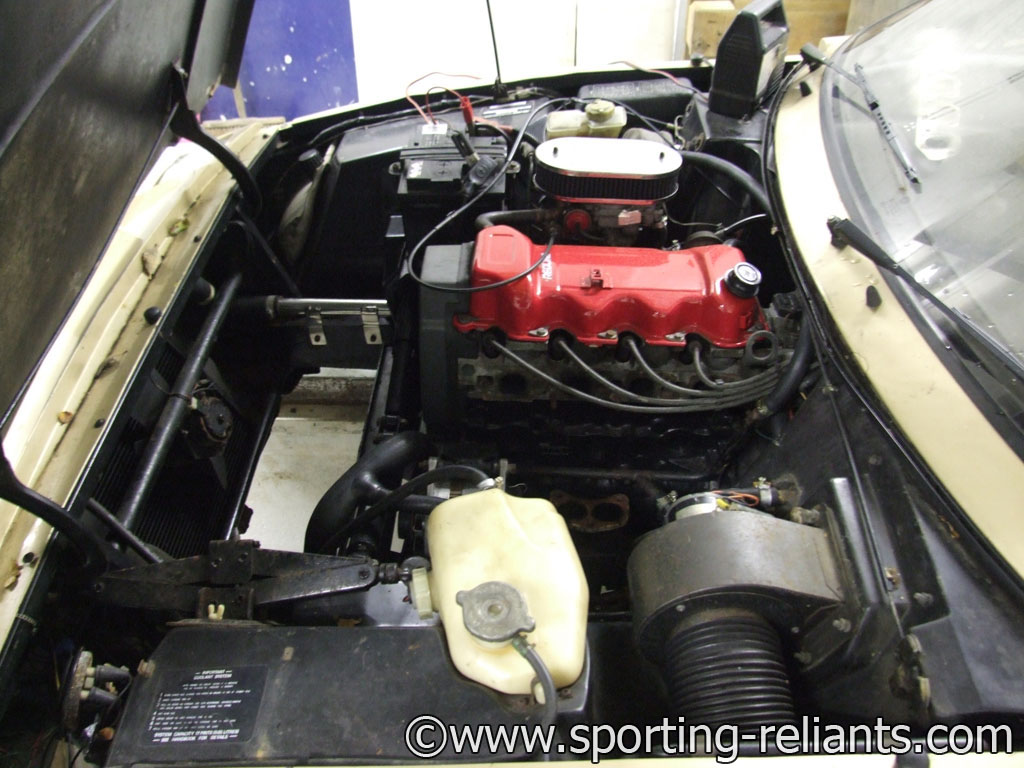
November 2011 > | Bob my landlord kindly lets me use his garage to get the car ready for an MOT. | 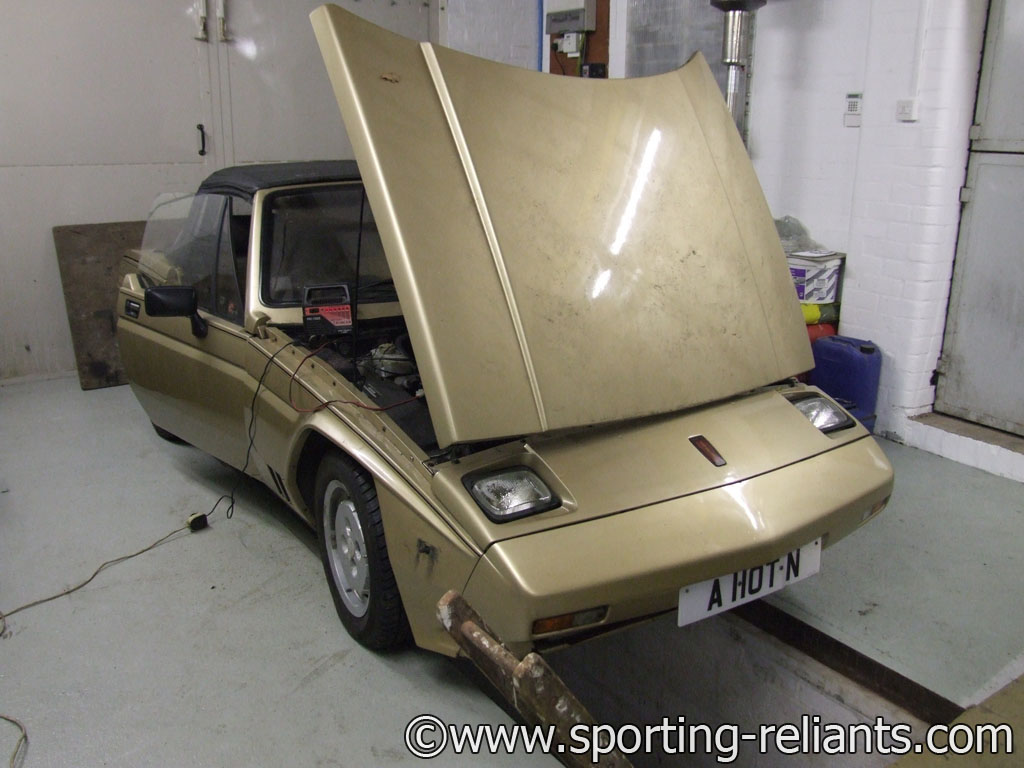 |
Firstly I need to replace that cracked exhaust manifold > |
 |
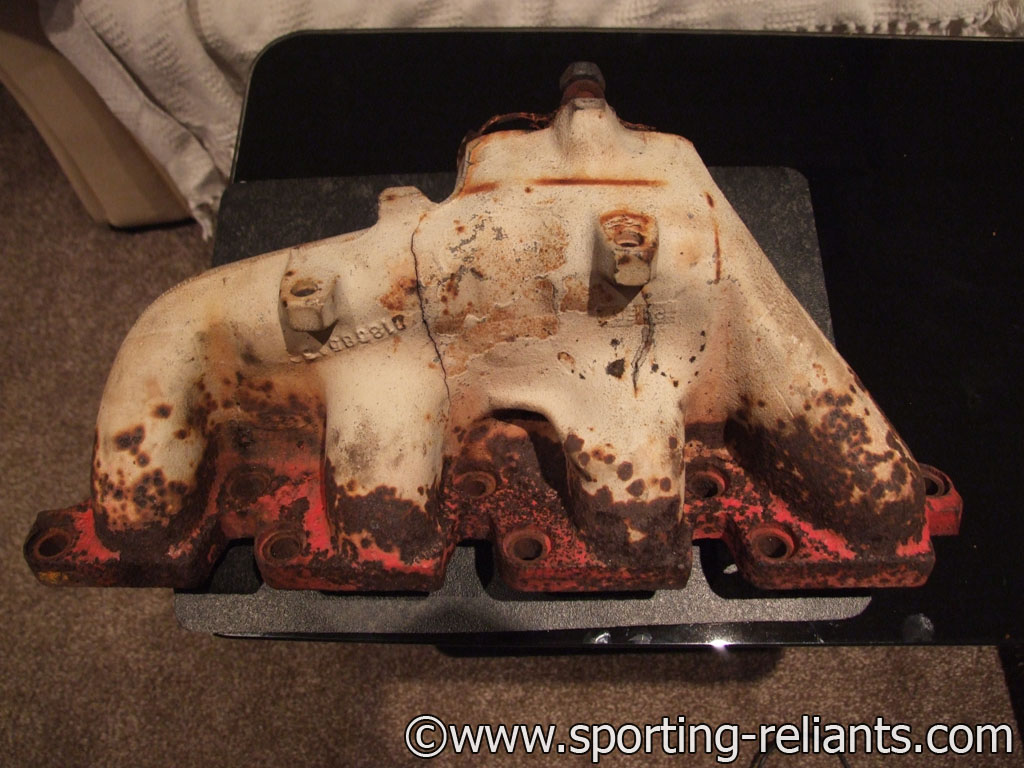 |
After considering getting the manifold welded, I was advise that it might be better to source another one and Jim King kindly offered one of his pares for sale, so a trip to Gloucester was arranged to fetch the replacement manifold > | 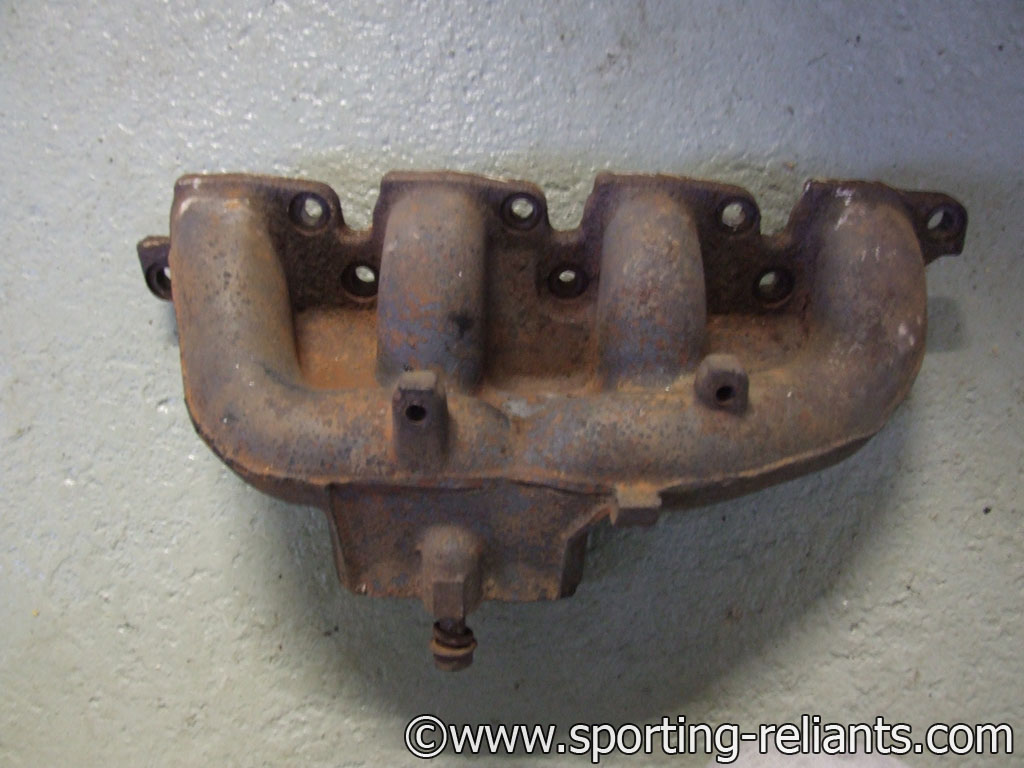 |
 |
|
| December 2011 > | With a new gasket it soon fitted > | 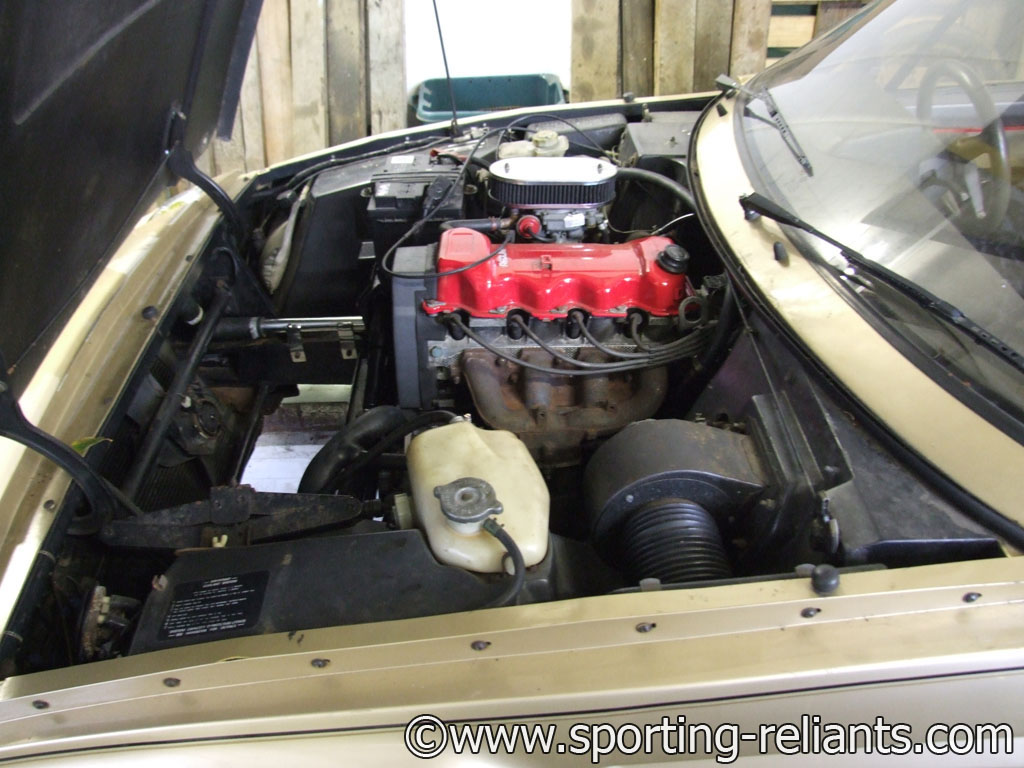 |
Just a couple more things missing... > | 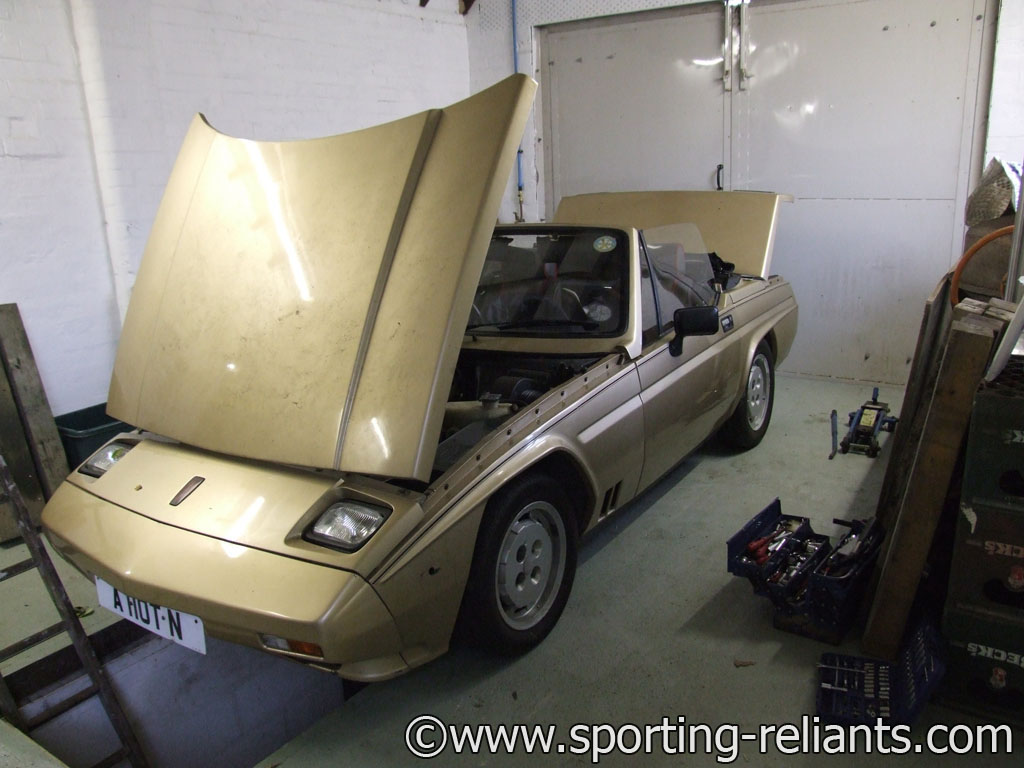 |
replacement side indicators kindly donated by Mark and Sue Cropper :o) |
 |
While checking the lights, I noticed one of my spotlights wasn't working, so I carefully removed the glass cover & promptly dropped it in the pit! DOH!!! So I removed both spot lights for the MOT just in case they needed to test them. | Soon I realised I had no reverse lights either, and I checked the wiring, which looked as if the reverse switch wasn't working > | 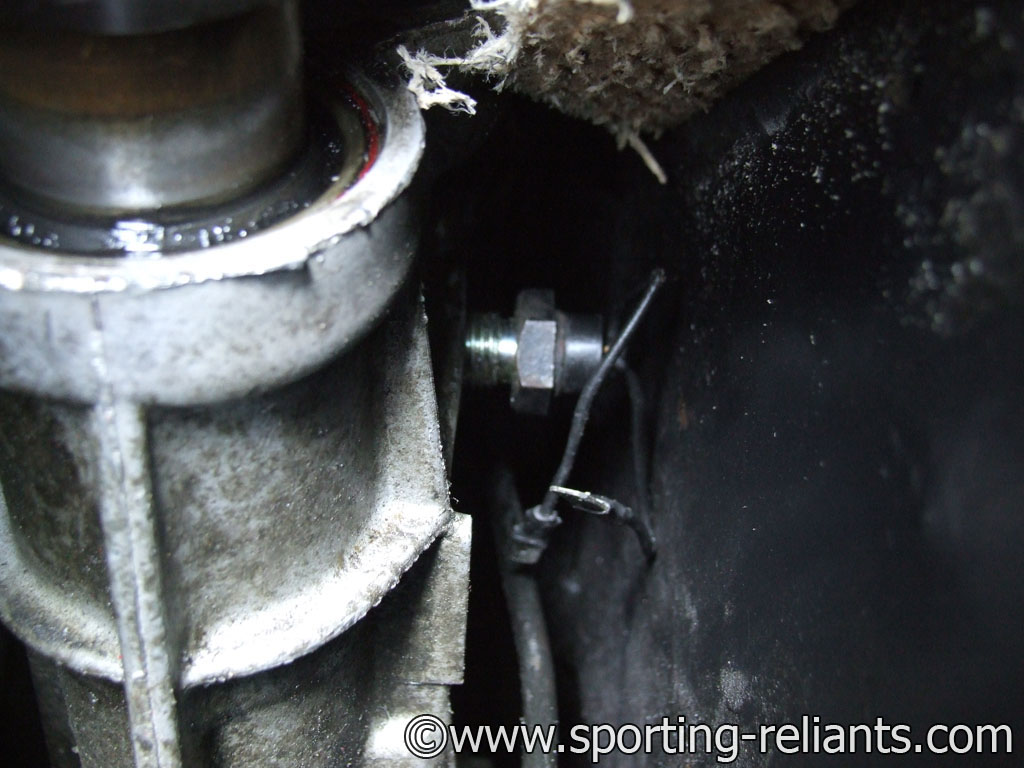 |
< What joy that was trying to remove the switch!! In the end, I wedged a tapered piece of wood between the gearbox and tunnel giving me a little more access to unscrew the switch. | |
| I soon found that there were two types of switches. The one on right is correct, although you can fit the one on the left if you cut a big whole through the tunnel, which I decided not to. |  |
So I sourced a replacement second hand one from Graham Walkers > |  |
 |
|
| Now the SS1 was virtually ready for and mot. I booked it in and then went around the car checking everything worked. I added the SS1 to my GTE insurance policy, so I could drive the SS1 to the MOT station. I thoroughly enjoyed my drive out to the MOT station. | 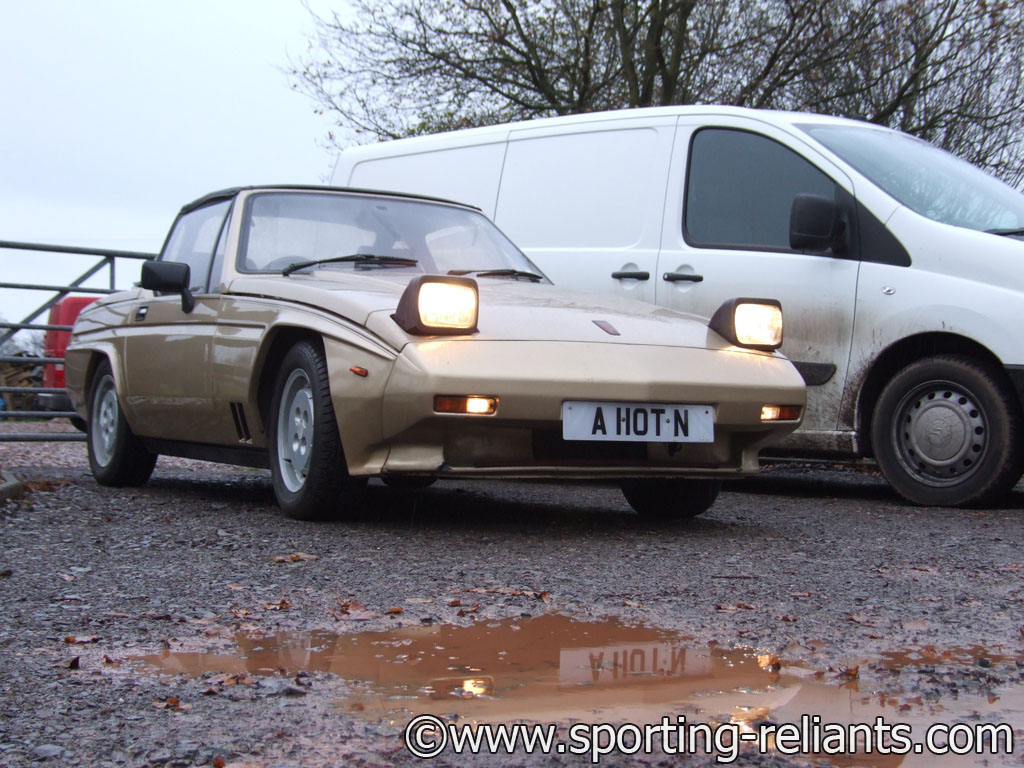 |
Sadly it failed on a leaking fuel hose and headlights were way out of alignment, it also had an advisory for cracked side walls on 3 of the old tyres |  |
Continued.... | |
| See Page 1 | 2 | 3 | 4 | 5 | 6 | 7 | 8 | 9 | |||||


