|
Dave's Scimitar SS1 1600 The re-commissioning Page 7 of 9 |
|||||
| I know my chassis had the captive nuts for the roll bar already fitted, but the body tub didn't have holes, so Bob kindly offer to drill holes using and extra long drill bit. > |  |
With holes in the body tub we could then use a hole saw to cut out the bigger holes in the body tub so we could fit the spacers > | 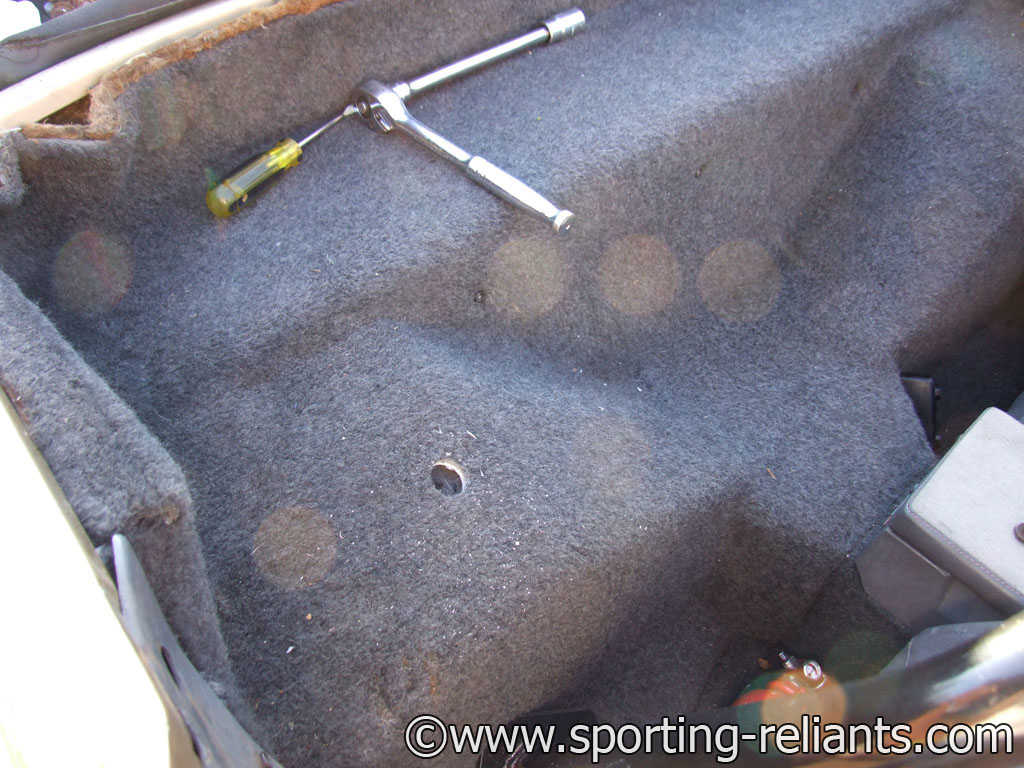 |
Captive nuts can be seen now > | 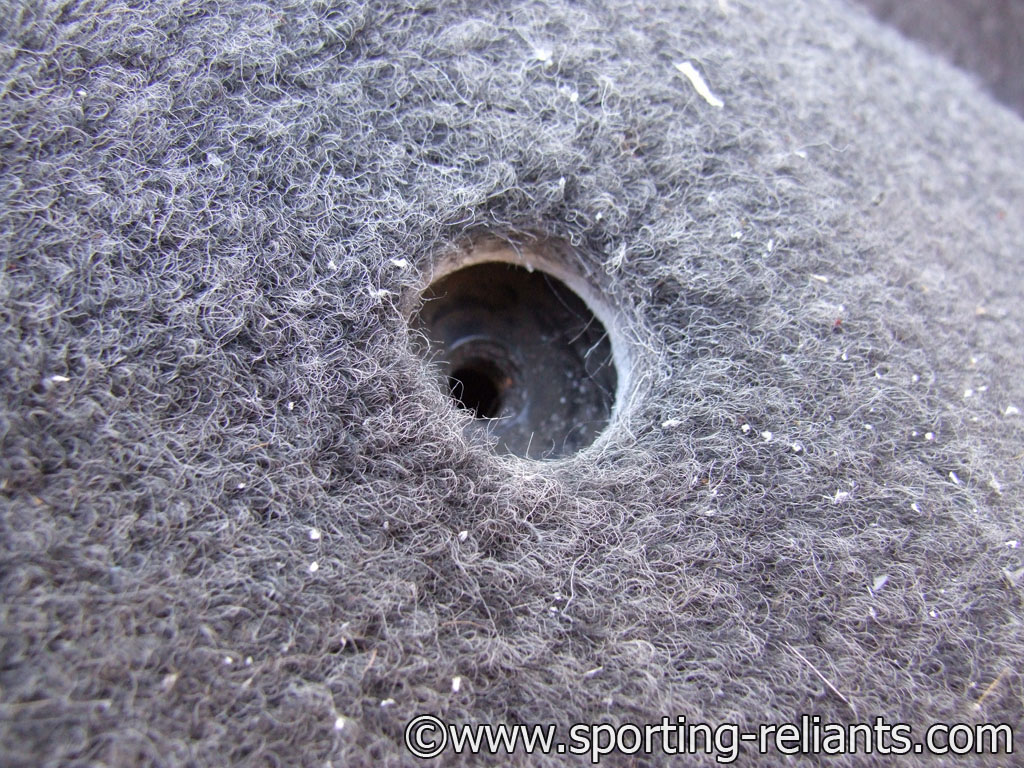 |
| My first outing with the new roll bar was Curborough Test day. I didn't take the car around the track I only went to help assist with the timing gear > |  |
Next on wish list is to refurbish or replace the button wheels, but they'll have to wait > |  |
Looking quite smart!! > | 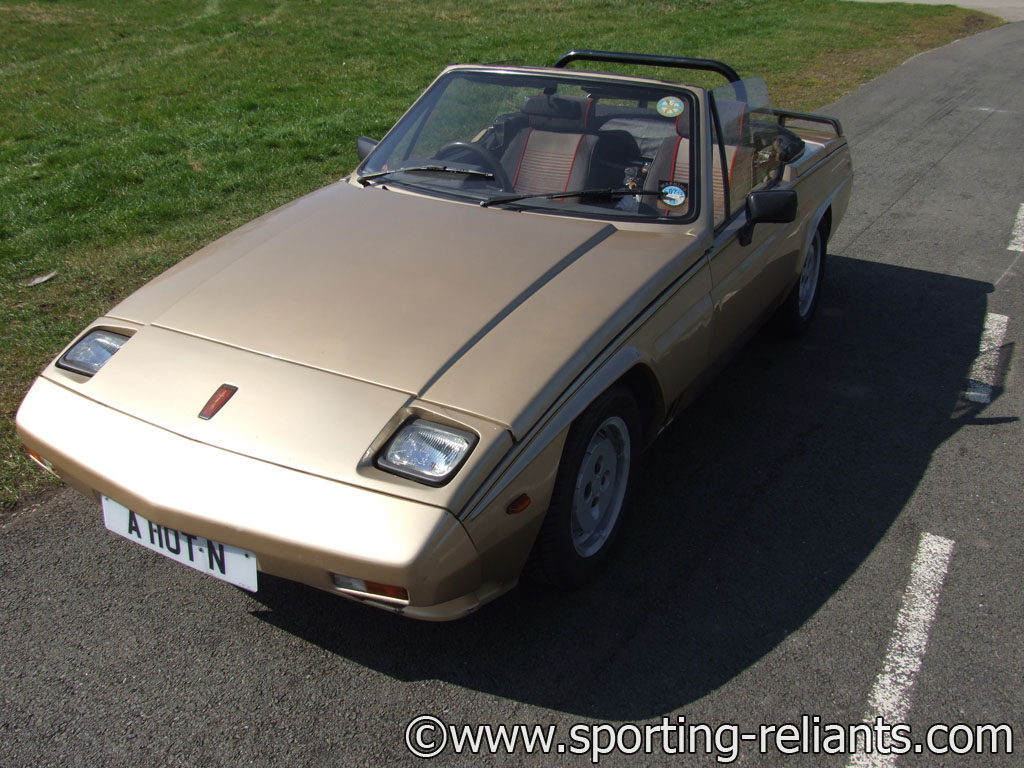 |
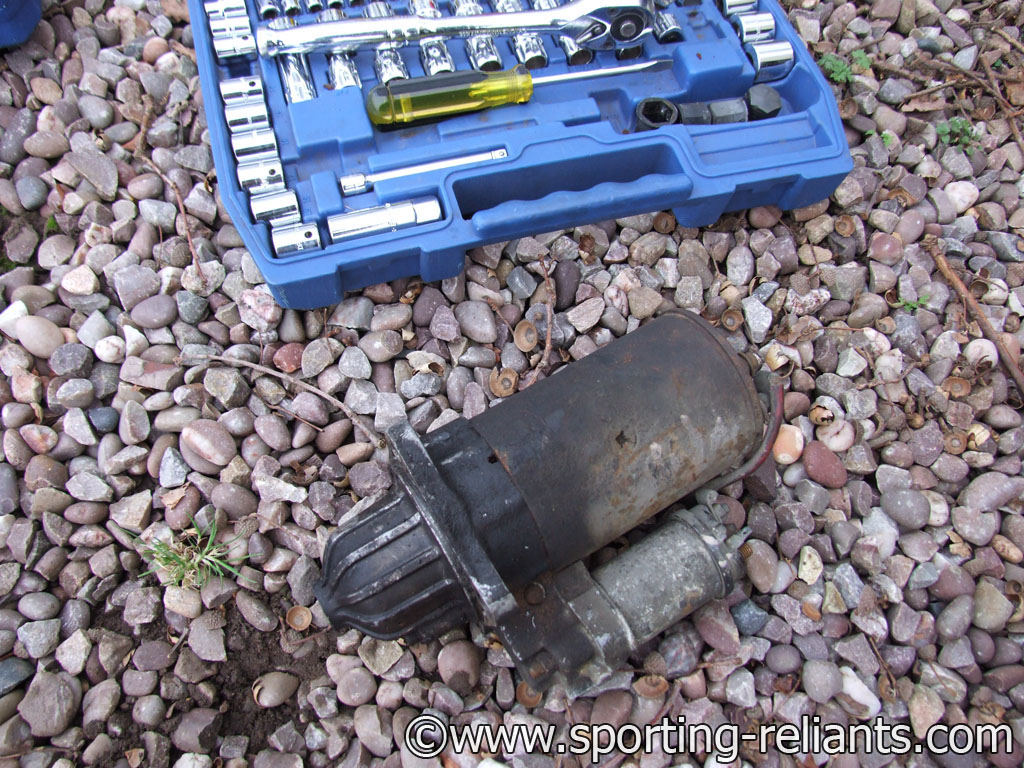
| While at Curborough my starter motor was playing up, so once I got home I removed the starter motor for inspection > |  |
 |
 |
On further inspection it was pretty worn out, so it was replaced > | 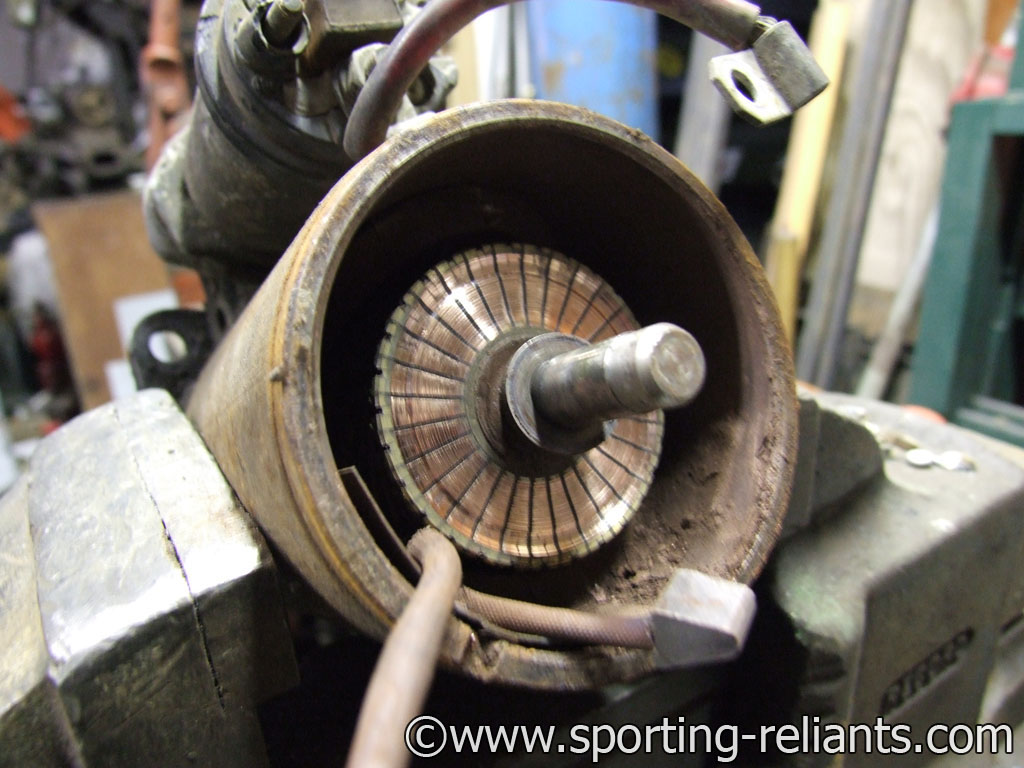 |
| April 2012 > | I had a small fuel leak from the petrol pipe to the carb as I couldn't secure the fuel pipe properly as there were two different size fittings from fuel pump to carb > | 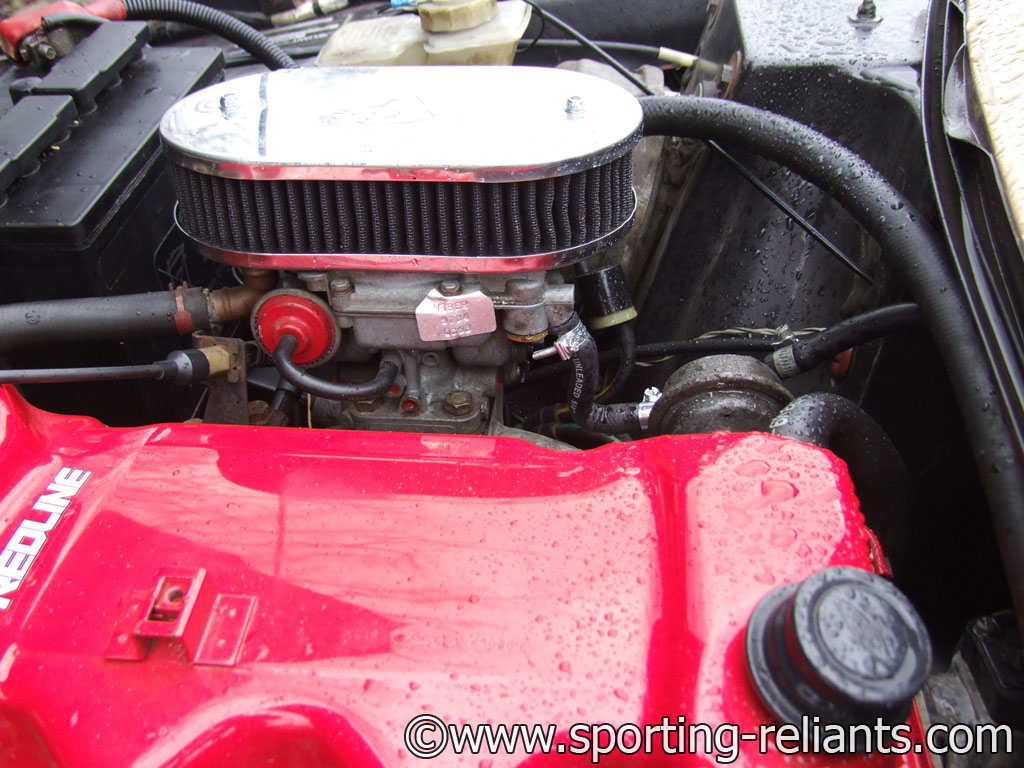 |
 |
So the solution was to fit an elbow reducer fitting > |  |
| However there was still another small leak from this fitting > | 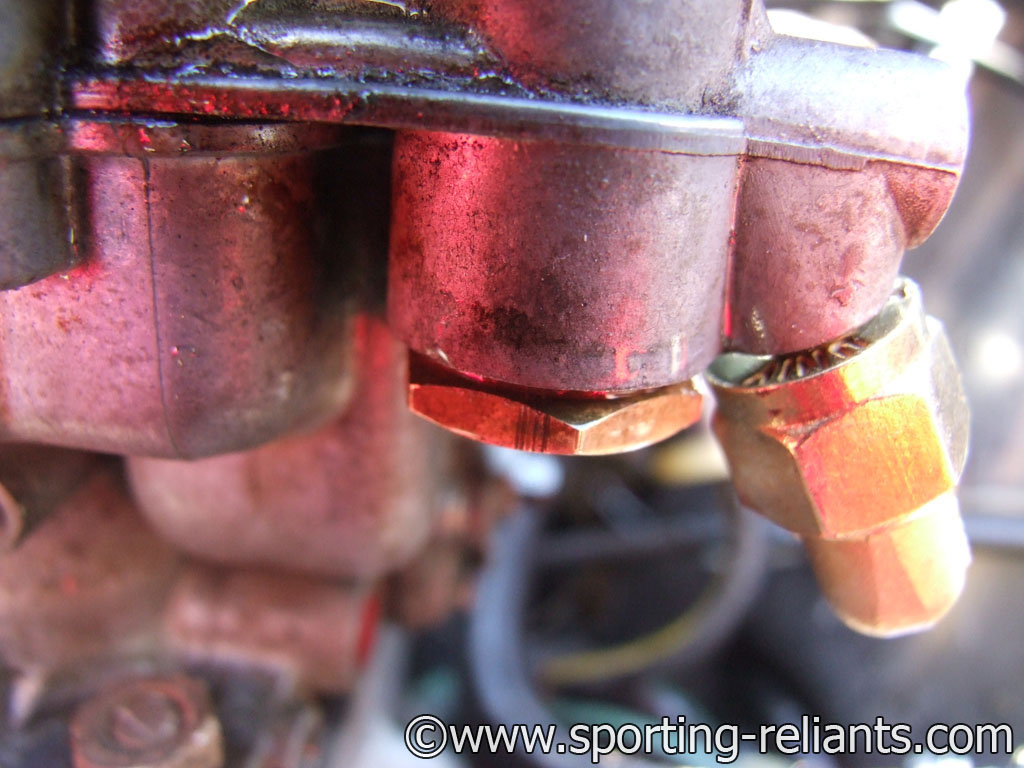 |
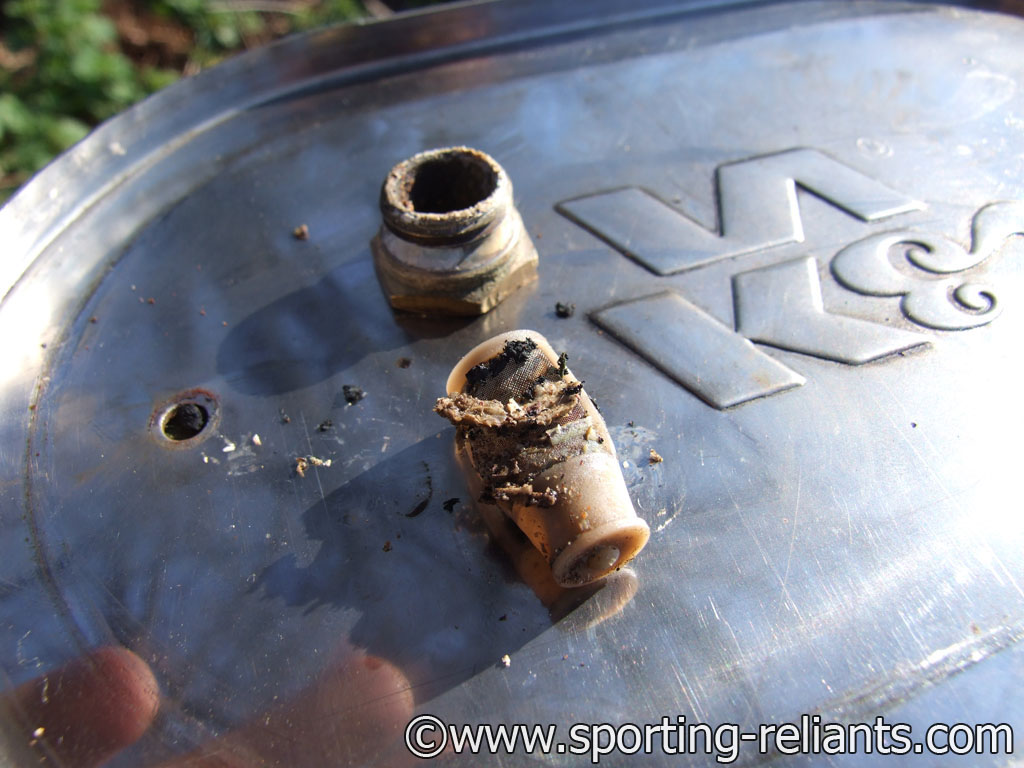
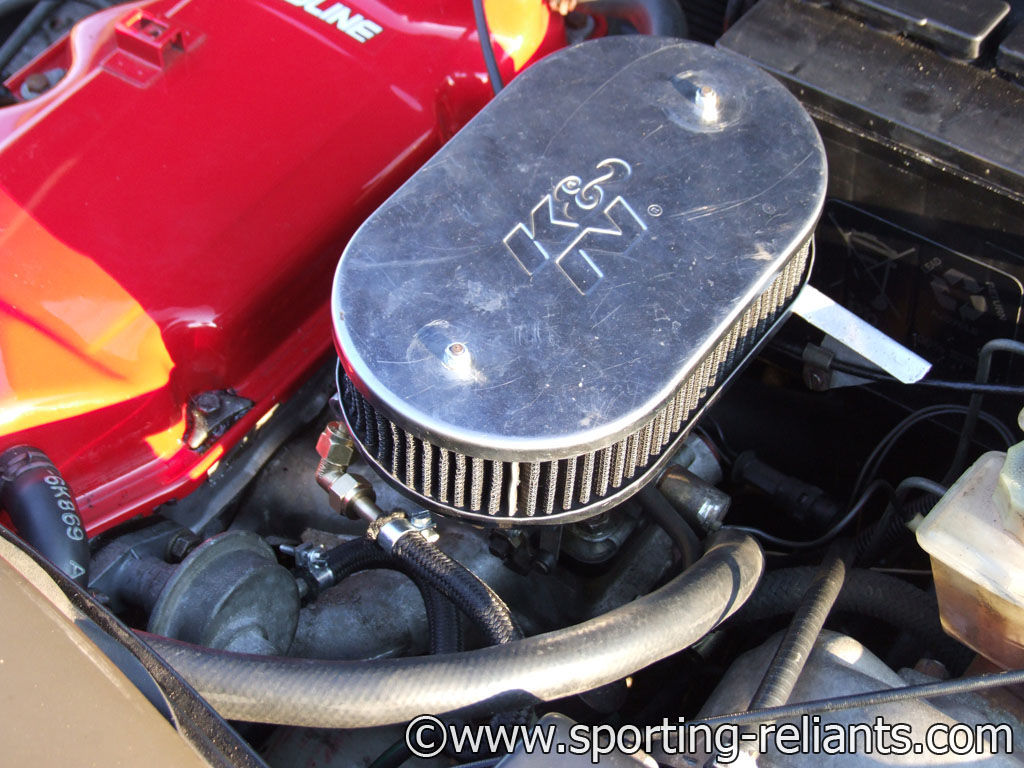
So the carb had to come off. I removed the fitting to find the filter inside was full of debris, so I cleaned out the carb and fitted another filter before refitting it. |  |
 |
 |
| After driving the car i noticed the fan wasn't coming on and the temperature was starting to rise when I got stuck in rush hour traffic > | I checked the fan and fuse and they seemed to work fine, so next I had to remove the complete thermostat/temperature housing > |  |
< It's quite a awkward job to do as it's at the back of the engine near the bulkhead. | but all I used was a small wrench 10 mm socket and an extension to get at one of the bolts. > | 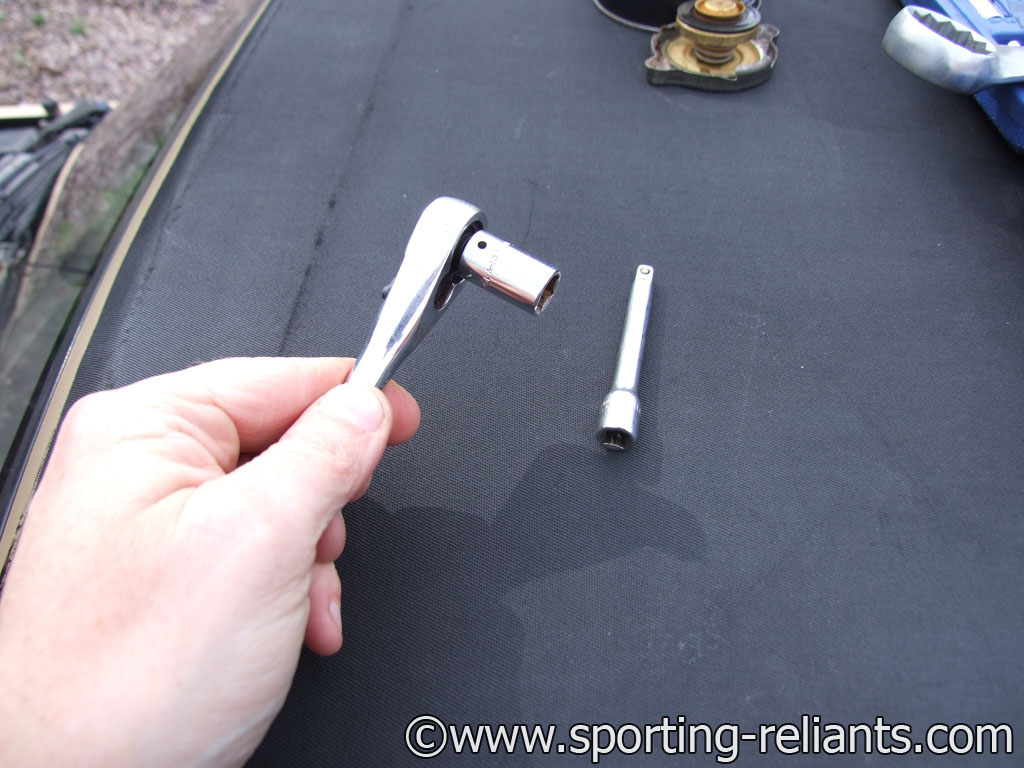 |
 |
I ordered a full thermostat kit from Nigel at Queensberry Road Garage, even though I had replace the thermostat before fitting the engine.> | 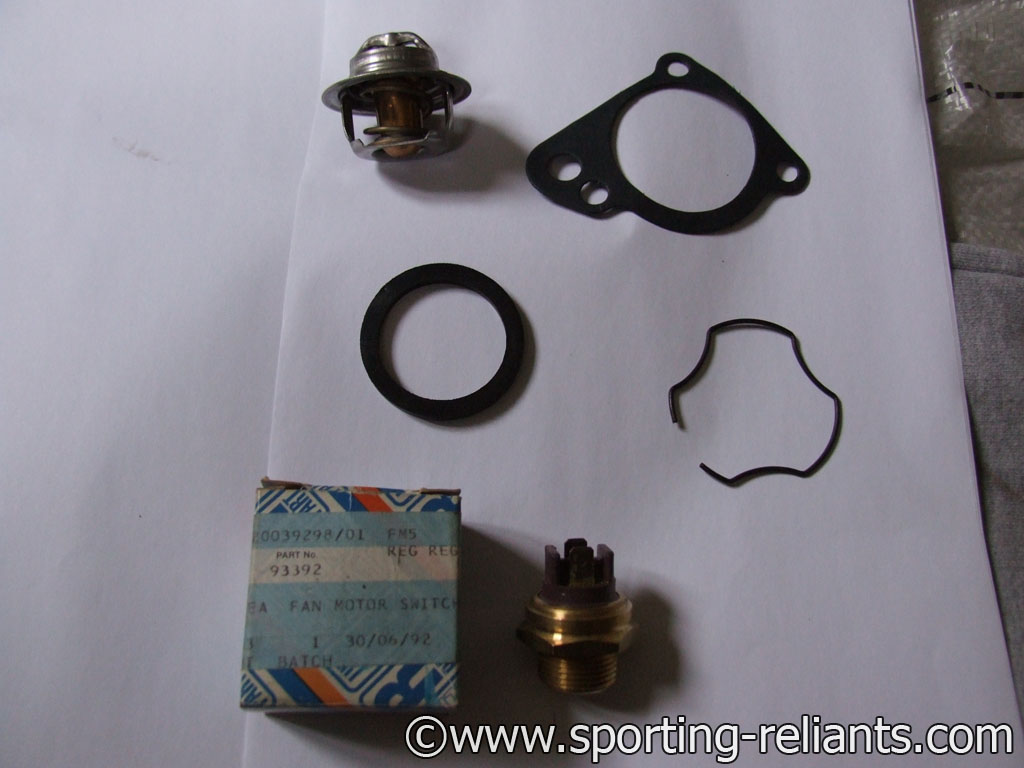 |
 |
Care had to be taken trying to remove the old otter switch as it seemed it was well and truly stuck in place. |  |
| The old otter switch was removed, but had got some of the thread with it! | 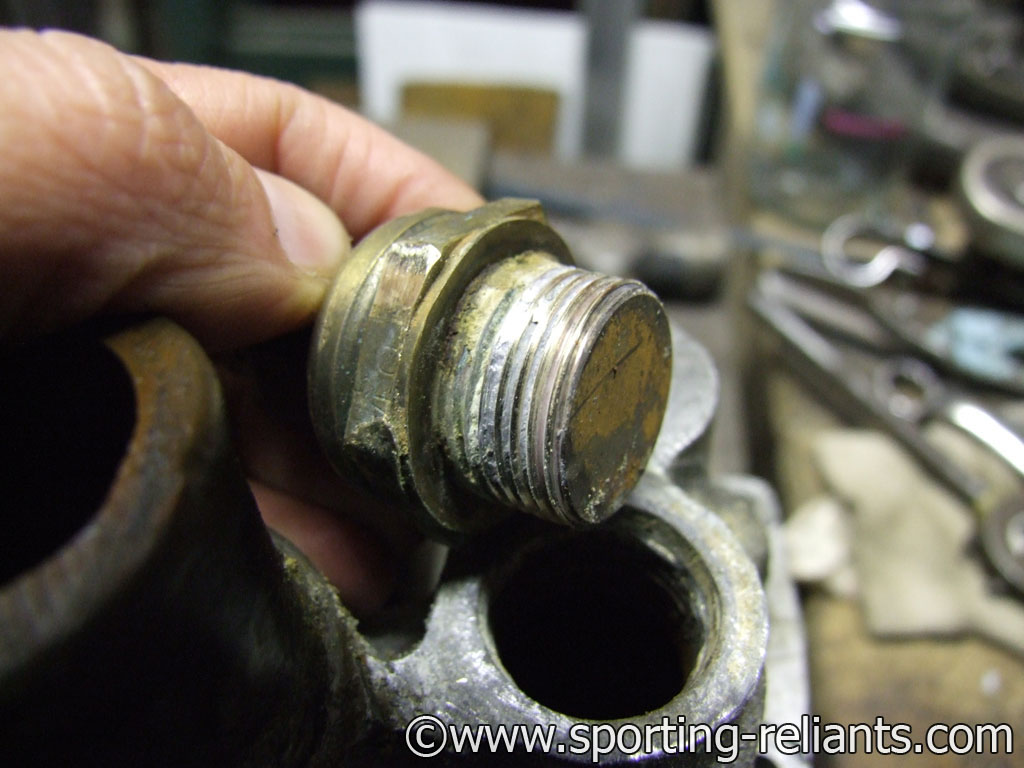 |
Luckily, the rest of the thread was good and we cleaned up the thread and fitted the new otter switch with a fibre washer. | 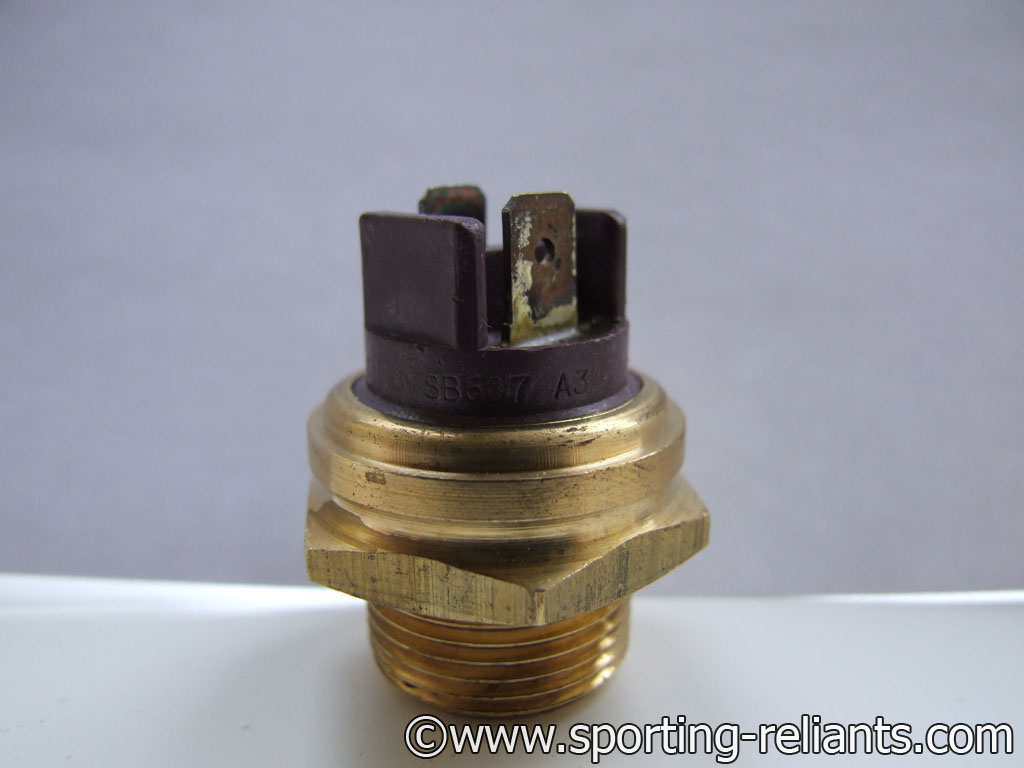 |
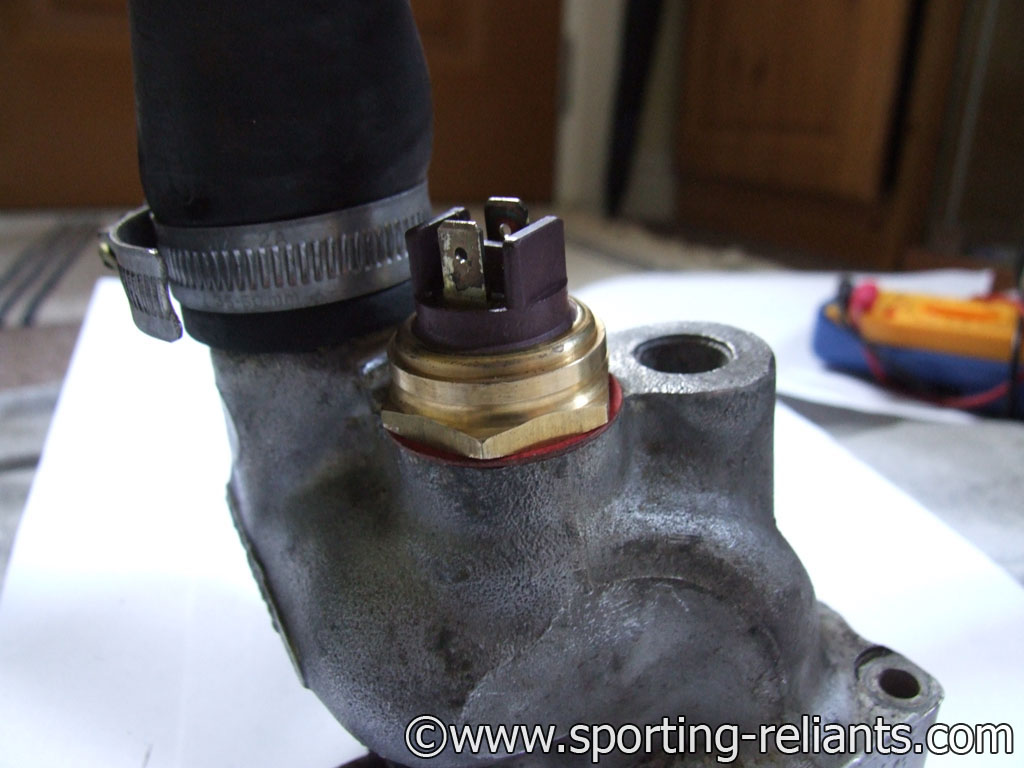 |
Tested and fitted the new thermostat before fitting > |
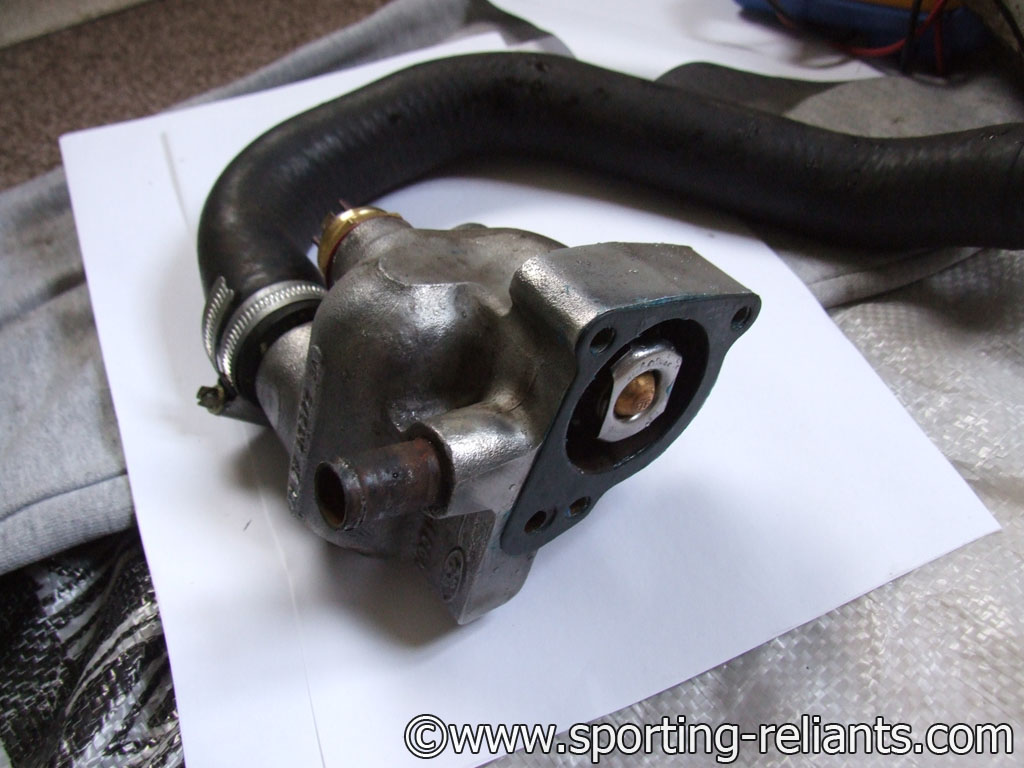 |
and then set about trying to re-fit the complete housing. | 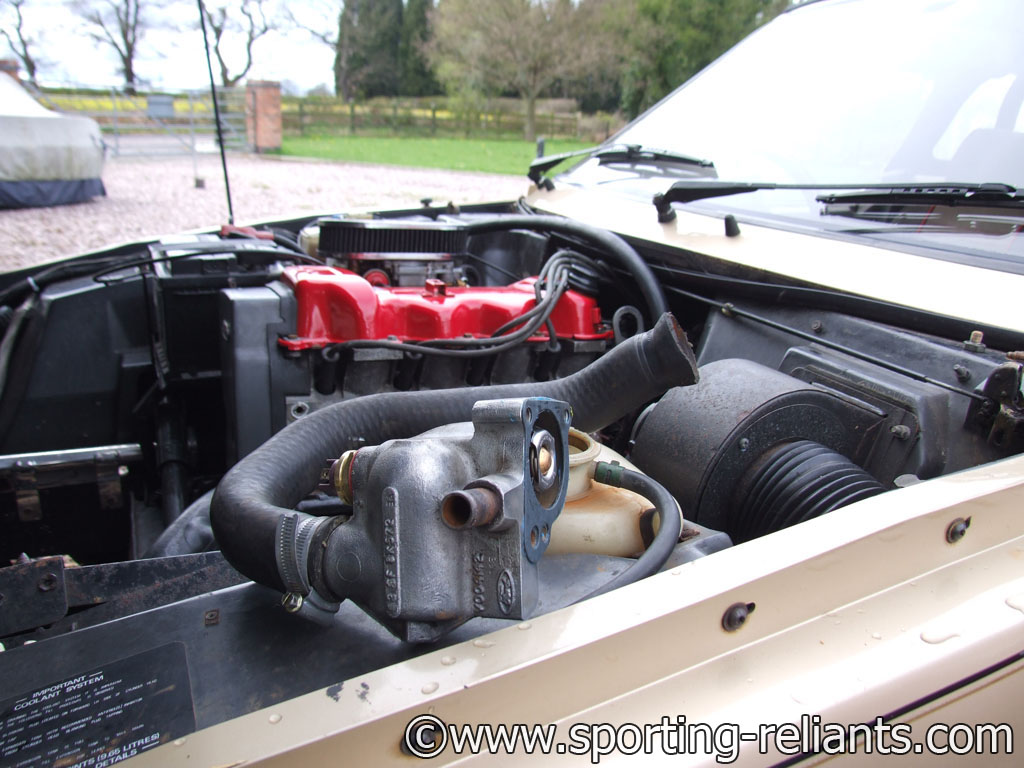 |
Remember to bleed the coolant system by removing the bolt in the top of the head and re-fitting when water comes out. |  |
Once the coolant had been topped up and bled, I then ran the engine until it got hot again and waited for the fan to come on, which it did.... once I remembered to plug in the wires on the otter switch ;o) |
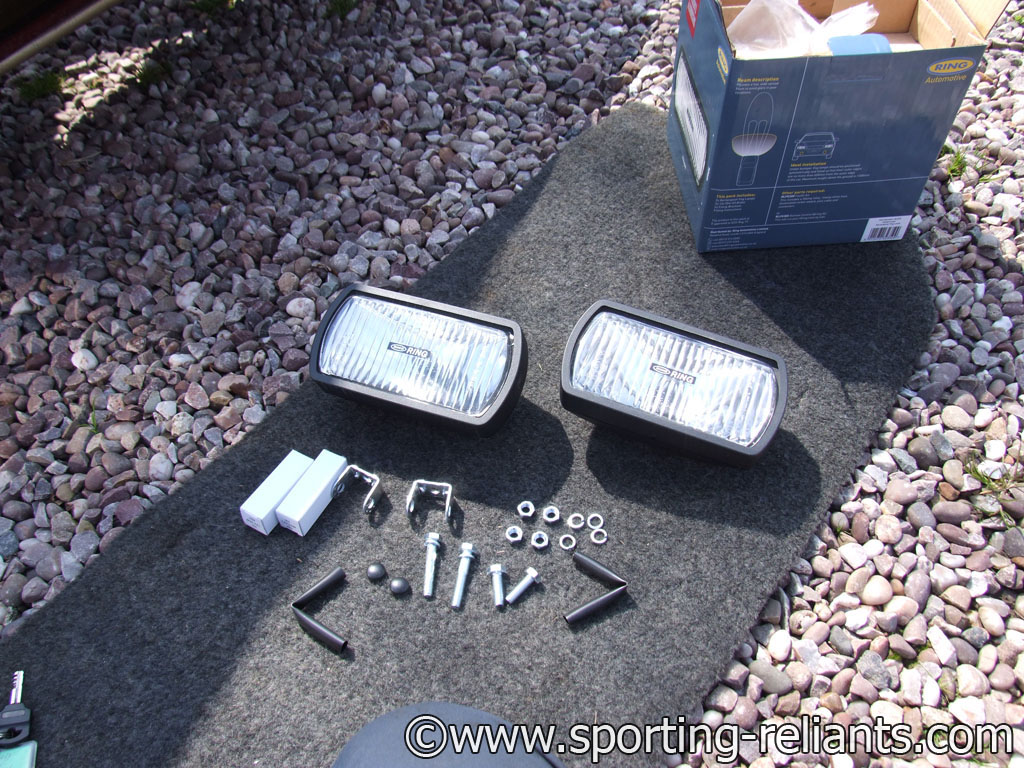
| I bought a new pair of spot lights to replace the ones I broke before the MOT. |  |
 |
 |
fitted and all working correctly! > | 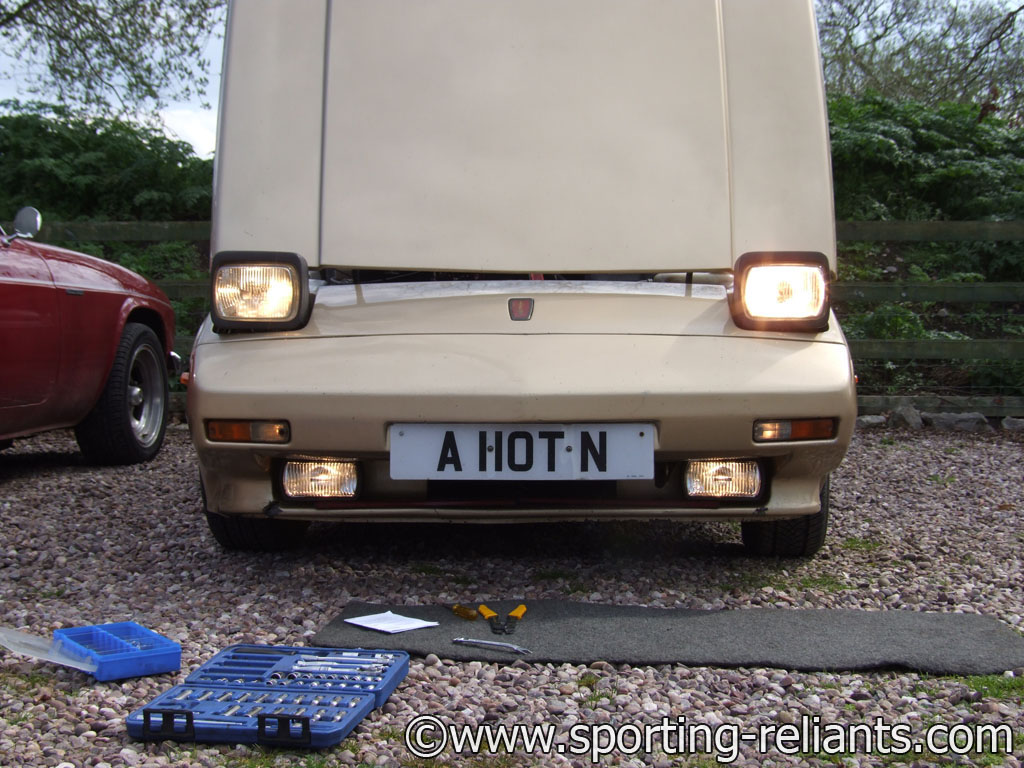 |
| See Page 1 | 2 | 3 | 4 | 5 | 6 | 7 | 8 | 9 | |||||


